Inputting custom barline joins
You can input custom barline joins at any position that change which staves are joined with barlines.
Prerequisite
-
The left zone is shown.
-
Graphic Editing
 is selected in the Engrave toolbox.
Procedure
- In Engrave mode, select an item on the top staff you want to join with a barline, at the start of the system from which you want this change to apply.
- Ctrl/Cmd-click an item on the bottom staff you want to join with a barline.
- In the Formatting panel, click Change barline joins in the Bracketing group.
Result
All staves between and including the staves on which you selected items are joined by a barline until the next existing bracket and barline change or the end of the flow, whichever comes first. A signpost appears at the start of the system in which you selected items.
If necessary, any existing barline joins are adjusted to accommodate the new barline join.
You cannot move bracket and barline change signposts, as they are intended to apply to system start positions. However, they can appear partway through systems if, for example, you move system breaks. When a bracket and barline change signpost is positioned partway through a system, the corresponding change only takes effect from the start of the next system.
Example
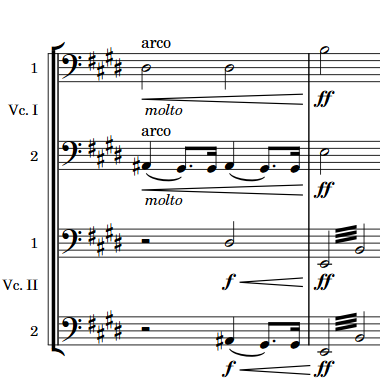
|
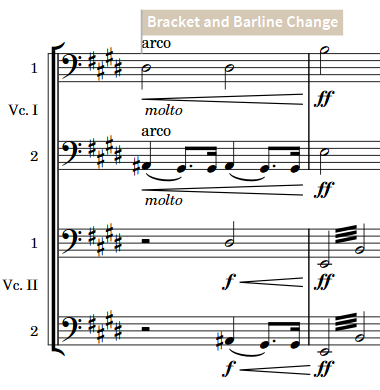
|