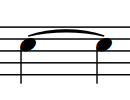
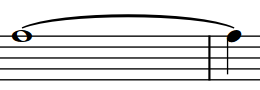
Tie height
The height of ties determines how far above/below their endpoints ties extend vertically.
To avoid the end points or curve apexes of ties starting or ending on staff lines, Dorico Pro automatically makes small changes to the curvature shape, height, and vertical position of ties. These changes are small, but the placement of ties is subtly different depending on the position of notes relative to staff lines.
|
|
|
|
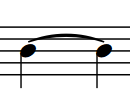
You can change the default height of all ties project-wide in . There are separate settings for short ties and long ties.
You can change the height of individual ties in Engrave mode.
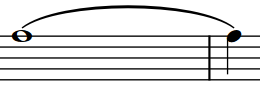
Increasing the height of ties makes them extend further from the vertical position of their endpoints, which gives them a rounder shape and means they take up more vertical space. Ties generally do not need to be as curved as slurs, as they join notes of the same pitch instead of arching over or above a range of pitches.
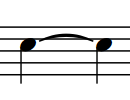
Where vertical space is tight, a balance must be found between how curved ties are and ensuring staves do not overlap.
|
|