The symbol you create is also “interpreted” and its name is displayed to the right of the fretboard symbol.
This can also be edited by double-clicking if you like.
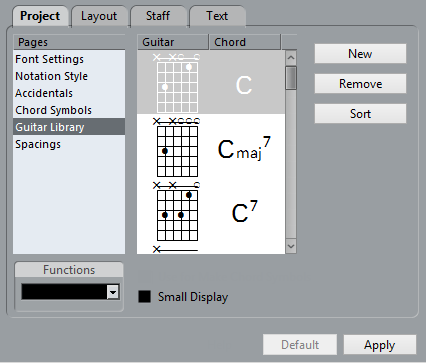
To sort the available symbols in the library according to their root notes, click the Sort button.
To remove a symbol from the library, select it in the list and click Remove.
To save the current library as a separate file, select “Save…” from the Functions pop-up menu.
A file dialog appears, allowing you to specify a name and location for the file.
To load a guitar library file, select “Load Current Pane…” from the Functions pop-up menu.
In the file dialog that appears, locate and open the desired guitar library file.