Adding an image file

You can insert image files as symbols into the Score. This allows you to import logos, copyright symbols, images of finger positions, etc.

Procedure

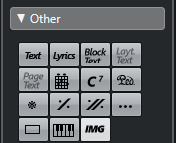
  1. In the Symbols Inspector, open the Other section.

    Image files can be inserted on all three layers.

  2. Click the Image File button to select the Draw tool. Click in the score at the position where you want to insert the file.

    A file dialog opens.

  3. Locate and select the image file you want to insert.

    The lower section of the Import dialog contains the following settings:

    • To copy the referenced file into the Project folder, activate the “Copy to Project folder” option.

      This is recommended as it makes it easier to manage all files used in a project.

    • If you modify your score, by adding staves for example, the position of an inserted image file changes. If this is not what you want, activate “Stick to Page” to keep it at a fixed position in your staff.

    • The Transparency parameter allows you to set the desired transparency of the image.

  4. Click Open to insert the file.

Result

The image file is inserted. Its size depends on the printer resolution. However, you can scale the image by dragging its handles. To restore the printer resolution, right-click on the image to open the context menu and select “Snap to Printer Resolution”.

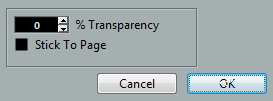
You can modify the settings you made on import by right-clicking the image and selecting “Properties” on the context menu, to open the Image Properties dialog.