Prerequisite
You have added at least two marker tracks to the project and named them.
Procedure
-
Select .
-
In the Marker category, set up a key command for Insert and name Marker.
This command adds a position marker, opens the Markers window and activates the Description column.
-
Set up key commands for Activate next Marker Track and Activate previous Marker Track.
-
Activate the marker track for the first narrator, and play back the video file.
-
At the position where the first dialogue section should be replaced, trigger Insert and name Marker.
The Marker window opens with the Description column is active, so that you can insert a name for the new marker.
-
Enter a name or description for the section, and press Return to confirm.
A new marker is created on the active track in the Project window.
-
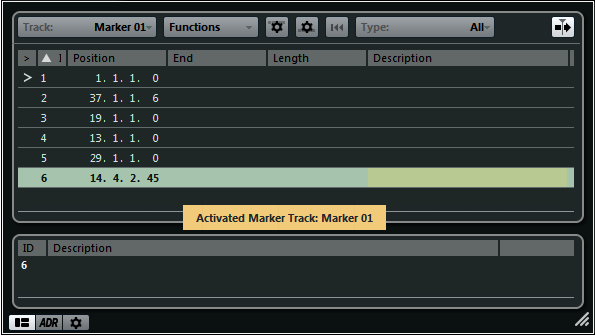
Activate the track on which you want to insert the next marker using the Activate next/previous Marker Track key command.
A message informs you that a different marker track is now active.
-
Trigger the Insert and name Marker key command at the position where the next dialogue section should be replaced.
Repeat this procedure for all markers that you want to insert.
