Initially, the User Symbols section is empty. To create symbols you use the User Symbols editor:
Procedure
Double-click on the empty symbol field in the section.
The User Symbols editor opens. You can also right-click on an empty symbol field and select “Edit…” to open the same dialog.
Open the Functions pop-up menu and select the desired zoom factor from the View submenu.
Often you want to work at a reasonably high zoom factor when drawing and editing symbols.
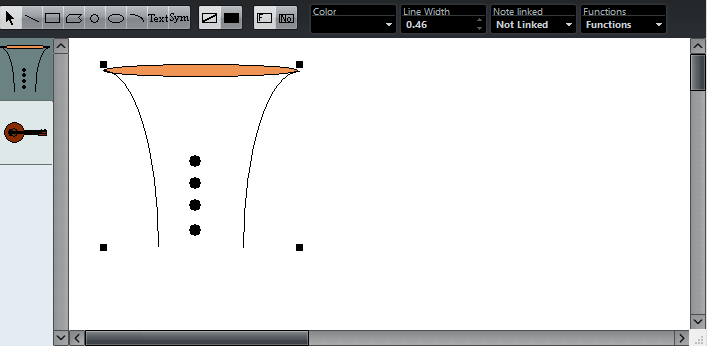
Use the tools and functions to draw a symbol.
The available tools are listed in the table below.
When you are finished, you can close the editor and insert the symbol into the score, or you can create more symbols:
Select “New Symbol” from the Functions pop-up menu.
An empty symbol field appears in the section to the left of the drawing area – this section corresponds to the actual User Symbols section, showing all symbols that you have created.
Click the new empty symbol field on the left to make sure that it is selected.
The drawing area is cleared.
Continue creating new symbols this way.
You can edit existing symbols at any time by selecting them to the left and using the tools and functions.
Any changes you make are automatically stored in the User Symbols section for the project. You can also export symbols for use in other projects.
To insert a user symbol into the score, click on it in the section and then click at the desired position in the score.