Edit Indicators
Edit indicators allow you to see where audio parts have been edited. You can then recover previous versions of the edited parts without losing the changes you have made to the rest of the audio. Edit indicators are only available in the Audio Editor.
Edit indicators are located at or around an edit position in the audio file. Each audio channel has its own edit indicators. The edit indicators are located at the bottom of each audio channel. You can show or hide edit indicators and make them snap to magnets with magnetic bounds. By default, edit indicators are only displayed in the main view of the Audio Editor. You can also activate edit indicators in the overview.
Edit indicators are generated automatically when you edit an audio file or use undo/redo. You cannot edit or name edit indicators. Edit indicators are temporary and are not saved with the audio file.
You can change the color of edit indicators in the Audio Files Preferences on the Style tab.
Types of Edit Indicators
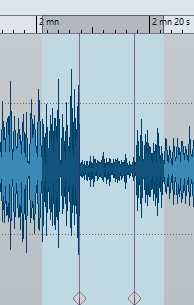
- Modified audio between two edit indicators
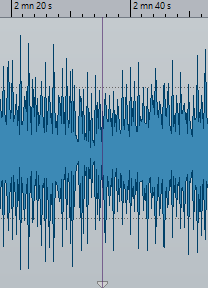
-
These edit indicators surround an audio section that has been modified, while the audio to the left and to the right of this audio section remains unchanged. This allows you to use the Recover function to replace the audio part with a previous version of that audio part. This does not affect the changes that you have made to the audio located to the left and the right of the edit indicator pair.
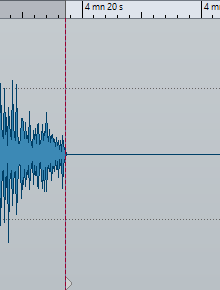
- Cut at the end of an audio file
-
These edit indicators show that the end of the audio file has been cut off. You can use the Recover function when you place the edit cursor at the edge of the edit indicator.
- Cut at the start of an audio file
-
These edit indicators show that the start of the audio file has been cut off. You can use the Recover function when you place the edit cursor at the start of the audio file.
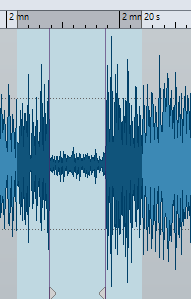
- Cutoff audio
-
These edit indicators show that audio has been cut off. The audio to the left and to the right of the edit indicators belongs to the same audio file. You can use the Recover function when you select the audio range around the edit indicators.
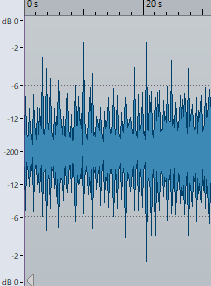
- Spliced audio
-
These edit indicators show a spliced audio file where the audio to the left and to the right of the edit indicators belongs to different audio files. In this case, the Recover function has no effect. However, you can use Replace Selected Audio with Samples from This Version in the History window to replace the audio selection with audio samples that are located at the same range inside the selected version of the history.