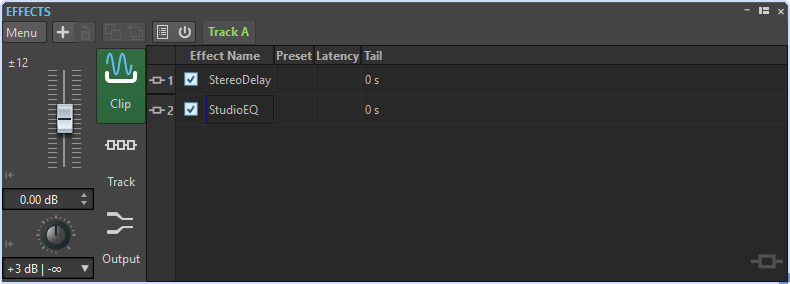
Effects Window
In this window, you can add effect plug-ins to tracks, clips, and the master output, and edit pan and gain settings.
-
To open the Effects window, open an audio montage and select .
Menu
- Clip Effects
-
Displays the plug-ins of the active clip.
- Track Effects
-
Displays the plug-ins of the active track.
- Output Effects
-
Displays the plug-ins of the montage output.
- Add Slot
-
Adds a slot into which an audio plug-in can be inserted.
- Remove Selected Plug-ins
-
Removes the selected plug-ins.
- Copy
-
Copies the selected plug-in and its settings to the clipboard.
- Copy All
-
Copies the settings of all plug-ins to the clipboard.
- Paste (Insert)
-
Inserts the plug-in that was copied to the clipboard before the first selected slot. If no slot is selected, the plug-in is inserted at the end of the plug-in list.
- Paste (Replace)
-
Replaces the selected plug-in with the plug-in that was copied to the clipboard. If no slot has been added, a new slot is created.
- Close All Windows
-
Closes all plug-in windows that relate to this audio montage.
- Plug-in Map
-
Opens the Plug-in Map dialog that displays all plug-ins that are used in the audio montage and the clips and tracks that are using them.
- Customize Command Bar
-
Opens the Customize Commands dialog which contains options to hide or show specific command bar buttons.
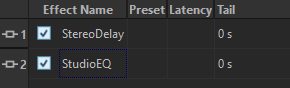
Effects List
The effects list displays the effect plug-ins of the selected track, clip, or montage output. In the list, you can replace effect plug-ins, change the effect order, and edit the Tail of effects.
- Plug-in window icon
-
Opens the plug-in window.
- Effect Name
-
Clicking an effect name opens the Plug-ins menu where you can select a new effect. The checkbox allows you to activate/deactivate the clips.
- Preset
-
Shows the preset that is used by the plug-in. If no preset is used, this field is empty.
- Latency
-
Shows the latency in the audio path. Plug-ins with latency cannot be used for adjusting the send level.
- Tail (clip effects only)
-
Some effects, such as reverb and delay, produce audio tails. This means that the effect sound continues after the clip sound ends. For example, if you add echo to a clip without specifying a tail value, the echo effect is muted as soon as the clip ends. Set the tail length so that the effect is allowed to decay naturally. If you add another plug-in to the clip that also produces a tail, there is no need to set a separate tail value for this plug-in, unless you want the decay to sum up. The overall tail length for the clip is the sum of the tail of each plug-in. The maximum tail setting is 30 seconds.
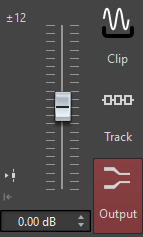
Gain/Pan Section
In this section, you can edit Gain and Pan settings for each clip and track.
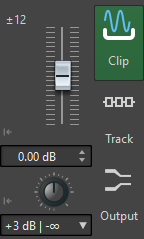
Global Gain Section
In this section, you can set the global gain for the active audio montage. This gain can be applied before or after the montage output, depending on the setting of the pre/post button on the left of this section. Pre is the default setting.