When your computer meets the criteria for communicating with other computers (see above), this is how you quickly go about establishing network communication and share a project with others:
Procedure
Launch Nuendo.
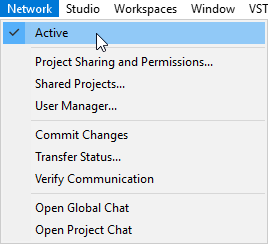
Activate the network by opening the Network menu and activating the “Active” option.
This establishes network communication and introduces your computer to any computers already present in the network. Your computer now needs to have a unique ID for identification.
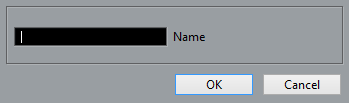
A dialog opens where you can enter a unique user name to identify your computer in the network.
This is the name that will be displayed in all the network dialogs to identify you to the other users in a network.
Important
Each user in a network must specify a user name, or network name, in order to be identified in the network. You can also change the name later.
Click Yes to enter your user name.
A dialog opens where you can enter your user name.
If you do not enter a user name at this point, the network will not be activated.
Click in the text field, type in a name of your choice and click OK.
If the network has already been created, the original creator – or administrator – may have already decided on user names for all participants. If so, ask the administrator for yours and enter it.
Note
If a name you enter is already in use on another computer in the network, you will be prompted to select another name.
When you have entered a user name, you can load or create a project that you want to share with the other users.
Click the “Share Project” option on the toolbar, or open the “Project Sharing and Permissions” dialog from the Network menu and activate the “Share Project” option.
The project is now shared and all other users have full access to it.