Zoom Presets
You can create zoom presets to set up different zoom settings. For example, you can create a zoom preset that displays the entire project and a second zoom preset with a high zoom factor for detailed editing. The Zoom Presets pop-up menu allows you to select, create, and organize zoom presets.
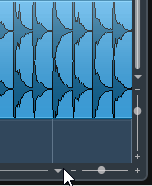
To open the Zoom Presets pop-up menu, click the button to the left of the horizontal zoom control.
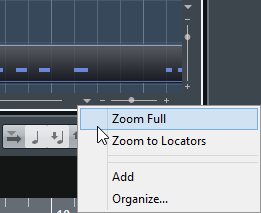
The upper part of the menu lists the zoom presets.
To save the current zoom setting as a preset, open the Zoom Presets pop-up menu and select Add. In the Type in Preset Name dialog that opens, type in a name for the preset and click OK.
To apply a preset, select it from the Zoom Presets pop-up menu.
To display the entire project, open the Zoom Presets pop-up menu and select Zoom Full.
This displays the project from the Project Start Time to the Project Length, as set in the Project Setup dialog.
To delete a preset, open the Zoom Presets pop-up menu and select Organize. In the dialog that opens, select the preset in the list and click Delete.
To rename a preset, open the Zoom Presets pop-up menu and select Organize. In the dialog that opens, select a preset from the list and click Rename. Type in a new name for the preset. Click OK to close the dialogs.
Once set, zoom presets are available for all projects that you open or create.