Unassigned Section
This section is divided into two tabs: Samples and VST Sound.
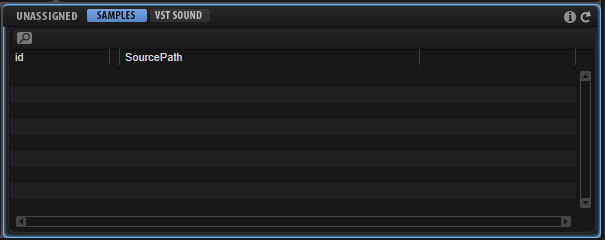
When dropping preset files into a VST Sound container, the Samples list is filled with all samples that are required. Then, you can decide which VST Sound container you want them to be part of. In the most simple case, your library only consists of a single VST Sound container. In this case, you can drag all samples into the container in the Content section. This adds a Private Audio Folder and the samples are placed inside.
A more advanced setup is to add several subfolders to the Private Audio Folder and to distribute the samples into these folders, for example, all brass samples to a brass folder, all string samples to a string folder. This allows for a better overview over the contents of the container. To select only some samples, use the Unassigned Filter section to limit the selection of samples to the selected presets.
This filter possibility becomes even more powerful if you want to distribute samples over multiple VST Sound containers. This could be necessary if you want for example to keep the VST Sound containers smaller than 4 GB, so that they can be stored on a FAT32 hard drive or USB stick. In this case, you can drag a part of the samples on one VST Sound container and the rest on another. This will create a Private Audio Folder in each VST Sound container and add the samples.
As soon as samples are added to a VST Sound container, the sample path references inside the presets are remapped to the new VST Sound container location.
You can also make your samples available for selection in the MediaBay. For this, you must add them to the Public Audio Folder.