Quick tour of the user interface
The user interface of Dorico consists of different modes that represent different phases in the workflow of preparing a score.
The user interface has a structure that is the same in each of the application’s modes. There is always a large area for editing your music in the center of the project window. In every mode, there are collapsible panels on the left, right, and bottom of the project window, depending on which mode you are using. The contents of these panels change according to the selected mode.
When you open the template, the first view shows the project window in Write mode:
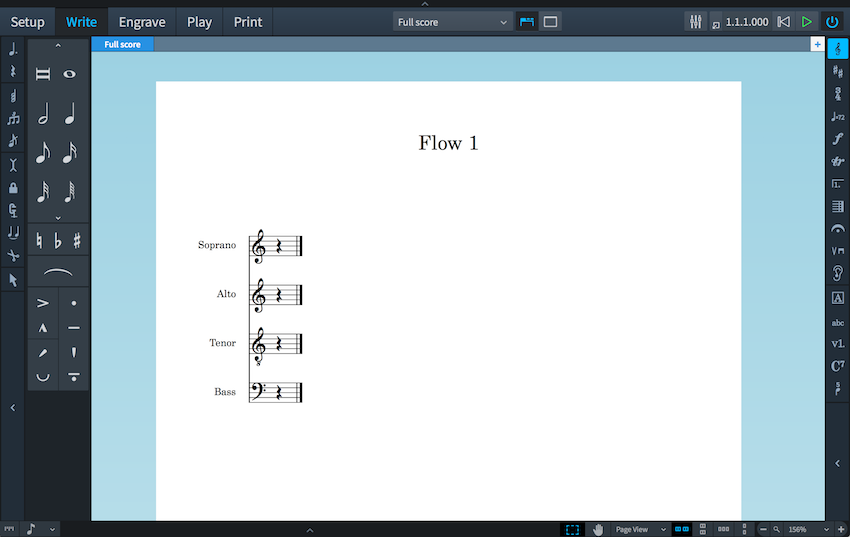
The project window contains the following areas:
Toolbar
The toolbar is located at the top of the project window.

On the left side of the toolbar, the modes are displayed. By activating a mode, you change the workspace and the available panels. The active mode is highlighted in a different color. In the middle of the toolbar, layout options allow you to switch between the different layouts in your project and to show/hide panels and tabs.
On the right side of the toolbar, you can open a Mixer and activate basic transport controls that, among other functions, allow you to play back and record your music.

Figure: Show Mixer button
Music area
The music area is the main part of the project window in Setup, Write, and Engrave modes where you set up, input, edit and format your music. In Play mode, this area is called event display, in which every note is displayed as an event. In Print mode, this area is called print preview area, which shows a preview of what is going to be printed or exported as a graphic.
The music area displays the scores or the instrumental parts that you create. Above the music area you can activate several layouts in tabs and switch between them. Layouts in Dorico allow you to show different presentations of your music. If you have a full score with different instrumental parts, such as a violin part and a bassoon part, you can switch between that full score layout and the layouts of each part. To save space on the screen or to focus on a specific layout, you can hide the tabs.
Toolboxes
In Write mode, there are additional columns at the left and right edges of the project window. These are called toolboxes.
 Figure: Notes toolbox in Write mode |
 Figure: Notations toolbox in Write mode |
The Notes toolbox on the left allows you to activate or deactivate various note input tools.
The Notations toolbox on the right provides tools that allow you to create and edit other notations, such as clefs, key signatures, time signatures, and so on.
Panels
Dorico provides panels with various functions in all modes. When you open the template, there is a panel on the left of the music area. This is the Notes panel in Write mode.

Figure: Notes panel in Write mode
The Notes panel contains all the durations, accidentals, slurs, and articulations that are most commonly used when inputting notes.
Status Bar
At the bottom of the project window, a status bar allows you to select different views and page arrangements for the music area.
