Setting up macros
A macro is a combination of several functions or commands to be performed in one go. For example, you can select all events on the selected audio track, remove DC offset, normalize the events and duplicate them, all with a single command.
Macros are set up in the Key Commands dialog as follows:
Procedure
- Repeat the procedure to add more commands to the macro.
Note that commands are added after the selected command in the list. This allows you to insert commands “in the middle” of an existing macro.
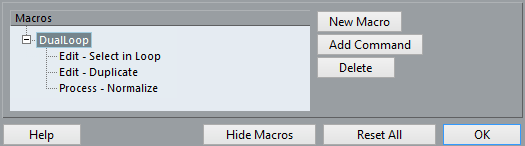
Figure: A macro with 3 commands
To remove a command from the macro, select it in the Macros list and click Delete.
Similarly, to remove an entire macro, select it in the Macros list and click Delete.
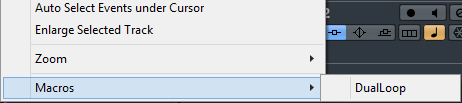
After you have closed the Key Commands dialog, all macros you have created appear at the bottom of the Edit menu in the Macros submenu, available for instant selection.
You can also assign key commands to macros. All macros you have created appear in the upper section of the Key Commands dialog under the Macros category – just select a macro and assign a key command as with any other function.