Learn Mode and Edit Mode
The different steps to take when creating a new surface for your MIDI controller in the MIDI Controller Surface Editor are divided into two modes: Learn Mode and Edit Mode.
Learn Mode
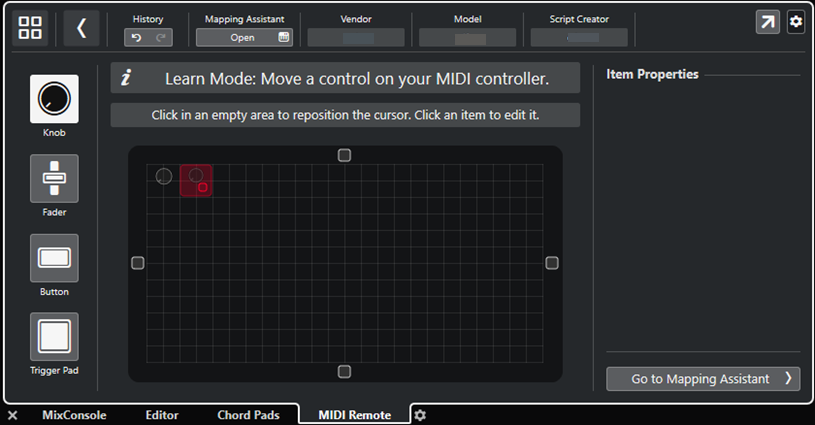
Learn Mode allows you to add controls to the surface display by sending MIDI messages from your MIDI controller to Cubase. In order to do so, move the corresponding hardware controls. In Learn Mode, the cursor is red.

-
Select a control type to the left of the surface display.
-
To reposition the cursor, click an empty area or use Up Arrow, Down Arrow, Left Arrow, or Right Arrow.
-
To change the size of the cursor and thereby the size of the control, hold down Shift while using Up Arrow, Down Arrow, Left Arrow, or Right Arrow.
All editing in the surface display is based on a fixed grid.
Edit Mode
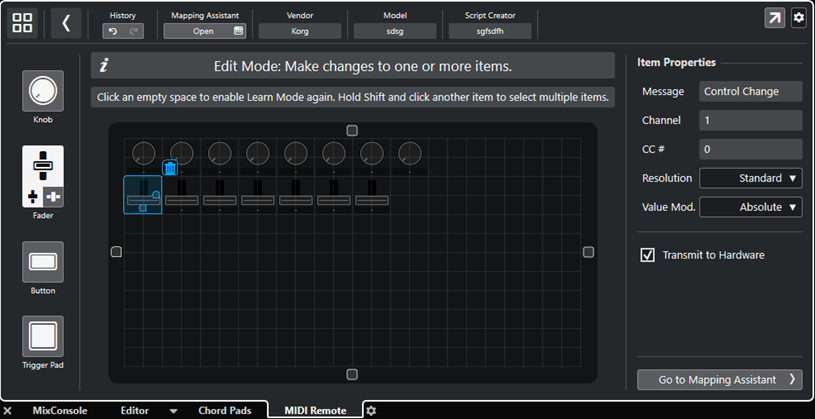
Edit Mode allows you to edit the selected control. In Edit Mode, the selected control is displayed in blue.
-
To change the dimensions of the control, drag the control handles.
-
To move a control, click and drag or use Up Arrow, Down Arrow, Left Arrow, or Right Arrow.
-
To select multiple controls, hold down Shift.
-
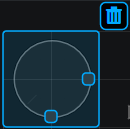
To remove a control, click the trash icon.
-
To specify the control properties, use the Item Properties to the right of the surface display.