Entering Chords

Procedure

  1. Activate the Learn button at the top of the Chorder window to activate Learn mode.

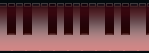
    The chord indicator lane is now tinted red, indicating that it is active.

    The keyboard display in Learn mode

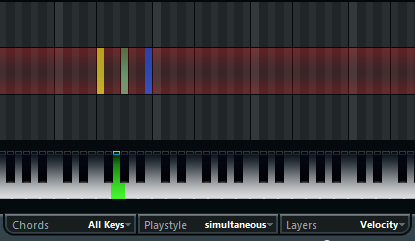
    The second layer in Learn mode

  2. Select the key to which you want to assign a chord by clicking on it on the keyboard display or by pressing the key on a connected MIDI keyboard.

    The red bar now moves to the first layer, indicating that you are ready to record the first chord.

    Note

    In Global Key mode, you do not have to choose a trigger key. The first layer is activated automatically.

  3. Play a chord on the MIDI keyboard and/or use the mouse to enter or change the chord in the layer display.
    • Any notes you enter are immediately shown in the Chorder display. The notes are shown in different colors, depending on the pitch.

    • If you are entering chords via a MIDI keyboard, Chorder learns the chord as soon as you release all keys of your MIDI keyboard.

      As long as a key is pressed, you can continue looking for the right chord.

    • If more than one layer is shown, Chorder jumps automatically to the next layer where you can record another chord.

      If all layers for a key are filled, the red bar jumps back to the keyboard display so that you can choose a different trigger key (in Global Key mode, the Learn mode is deactivated).

    • If you are entering chords with the mouse, Chorder does not jump to the next layer automatically.

      You can select/deselect as many notes as you want and then click on another layer or deactivate the Learn mode to continue.

  4. Repeat the above with any other keys you want to use.